
Sometimes the best racing set-up is one that you make yourself and tailor to your own needs. This do it yourself guide will help guide you make your own personalized button box! We’ll guide you through the process and recommend some readily-available items in order to make your experience as hassle-free as possible.
Step-by-Step: How to Make a DIY Button Box
In the following paragraphs, we’ll walk through the exact process we used to build a DIY button box, linking to components you can use for each step.
1. Prepare project box
First things first: prepare your project box. Unscrew the box to open it and access where you’re going to be placing the hardware for your buttons. Make sure to remove all labels as best you can in order to not have anything in the way as the tutorial proceeds. As an optional extra to this step consider applying a carbon-fibre wrap. It will not only protect your box, but also give it a sleek, modern aesthetic.
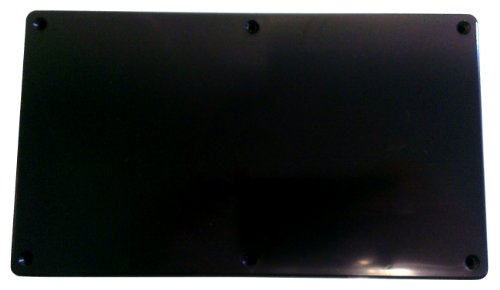
This sturdy little plastic black box will give you plenty of space for your button needs
2. Drill holes for buttons
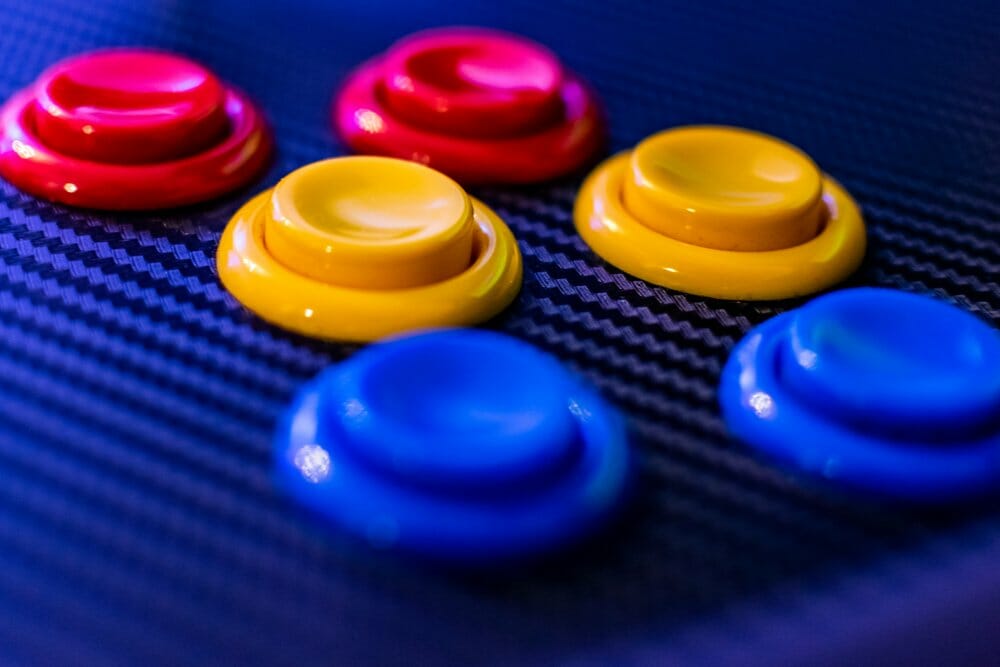
Take the buttons and switches and, carefully so as not to damage the hardware, unscrew the thin hexagonal and heptagonal rings from their bodies. Align these symmetrically on the inside of the lid of your button-box to be. Using a thin drill bit, make small holes so as to mark the centre of where every button and switch will be. Then, utilizing bigger drill bits, widen the holes to slightly less than the width of the rings from your buttons and switches.
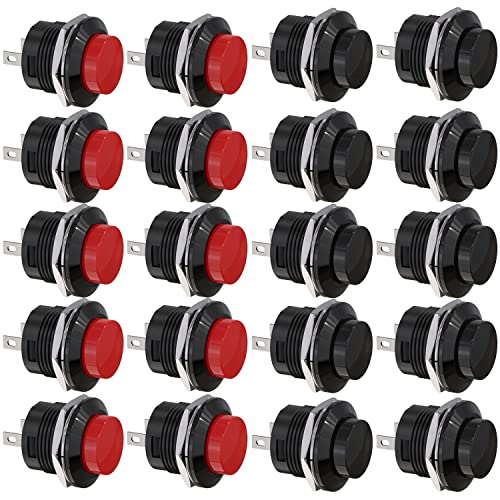
These ten black and ten red buttons are well-known and widely used for button boxes

These heavy duty switches have also featured in real cars, making them a safe bet for your button box
3. Mount buttons
Place the buttons and switches on the lid of your box and insert their bottom halves through the holes you just drilled. As you place each single button/switch flip the lid to the bottom side and screw on the rings you previously detached. This will fix the buttons in place. For the switches the same logic goes, but the rings go on the outer lid, too. As an easy rule of thumb, where you took the rings off, you need to put them back.
As a final step we recommend you use an adjustable wrench in order to secure the rings as tightly as you can (without breaking the box).
4. Install encoder
This is perhaps the most crucial step. Instead of trying to build your own circuit board, we recommend you pick up a ready-made USB joystick encoder, which will do the heavy lifting for you.
Using an encoder means that as soon as you plug the box into your PC, it will recognize it as though it were any other controller. That’ll make it very easy for you to modify what every button and switch does.
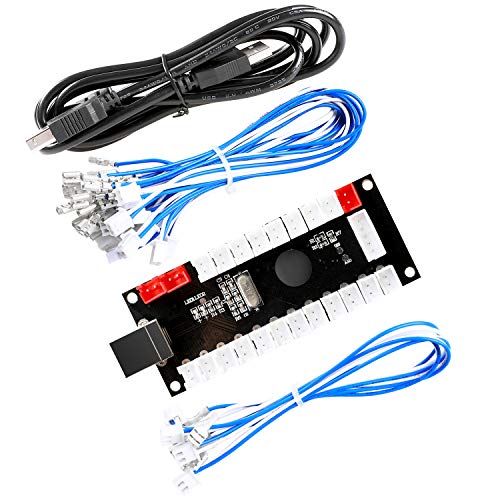
This tried and tested set has all the pieces needed to wire up your button box with zero input delay
So, take some wire cutters and cut the connectors from the encoder set in half. Do this for every button/switch you are including on the board. These wires will serve as cables between the buttons/switches and the encoder.
The next step is to grab your soldering tools and solder the connectors to the buttons and switches. For safety’s sake we highly recommend using protective gear. Also, hold the blue and white connectors with tweezers (and not your hands) so as to avoid hurting yourself. Once you’ve completed this step you’ll insert the white connector heads into the USB encoder.
Be careful about where you place them. You want to make sure that the heads go on the side with the 12 button slots.
(The other side of the USB encoder is for functions and joystick directions. The last thing you want is for your car to swerve to the left instead of switching on DRS and cause a crash because you placed your wires incorrectly.)
As you go to place your now-completed encoder inside the box, make sure to either drill or cut out a hole so that you can actually plug in the USB cable. Once you do that (and attach the cable) you’re almost ready to go!
5. Finishing touches
You’re all but done now. Screw the box closed tightly in order to avoid that any rapid motion may detach the connectors to the encoder. Then it’s just a matter of attaching the other end of the USB cable to your PC like you would a normal USB stick.
Before you excitedly go burn rubber, make sure everything works as intended and test out all the buttons on your computer. If something doesn’t work, don’t stress. It’s more than likely either the fact that a button/switch was soldered incorrectly, or that one of the connectors is either not in the slot or in the wrong one. Regardless, it should be an easy fix and, even if you have to replace some buttons or switches before you get it right, the products we recommended have plenty of parts to spare!
Last Updated on July 11, 2021